The pE-Driver is often required to control compatible CoolLED Illumination Systems in cellSens.
The exception is when using the CoolLED pE-800 Series with Windows 10 (since Windows automatically detects the hardware and installs a driver).
For Windows versions pre-dating Windows 10, or if using any other compatible Illumination System, follow the instructions in this video to learn how to download and install the pE-Driver.
cellSens Dimension supports the pE-400max CoolLED Illumination System directly via USB. In applications where complete synchronisation between the manual control pod and cellSens is required, the pE-800sim mode is a CoolLED software mode which utilises existing pE-800 Series software drivers. In this video, we show you how to enter pE-800sim mode and operate the pE-400max in cellSens Dimension
Field Sales Manager, Danielle Love, explains how to configure Olympus cellSens imaging software for the CoolLED pE-6501-8 and pE-800, and how to set up an experiment. The other model in the pE-800 Series, the pE-800fura, features different wavelengths but the same steps explained in this video also apply.
cellSens Dimension supports several CoolLED Illumination Systems:
pE-800 Series
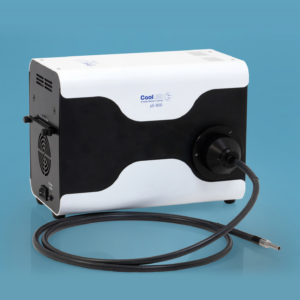
pE-400max
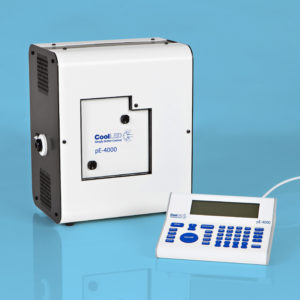
pE-4000
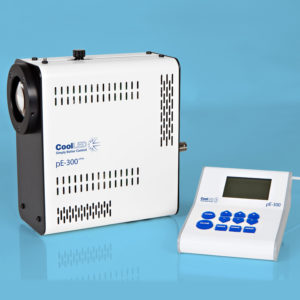
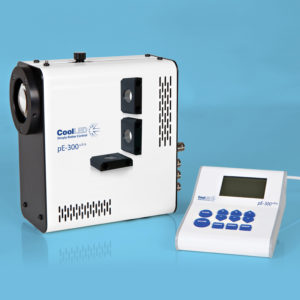
pE-300white, pE-300ultra (also supported in cellSens Standard)
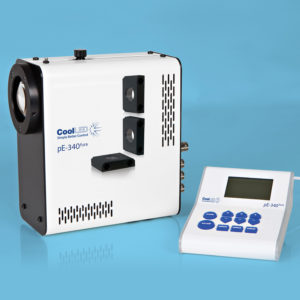
pE-340fura (also supported in cellSens Standard)
This video shows you how to configure the system in cellSens (version 4.2), including configuring the light source and setting up an experiment. The pE-Driver is first required for many setups, please see the video above for guidance.
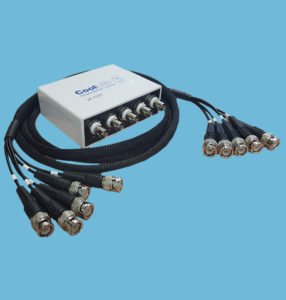
New CoolLED Illumination Systems are not always immediately supported in all third-party imaging software platforms. However, on/off LED control is possible in cellSens when using the CoolLED USB to TTL Trigger Kit. LED intensity is controlled either through the manual control pod or the LightBridge virtual control pod GUI.
In this video, we explain how to trigger the four-channel pE-400max in cellSens using the pE-6501 USB to TTL Trigger Kit.
However, the information can be applied to other CoolLED Illumination Systems – for example, the pE-800 with the pE-6501-8 and pE-800fura with the pE-6501-8FR.